 Starvard.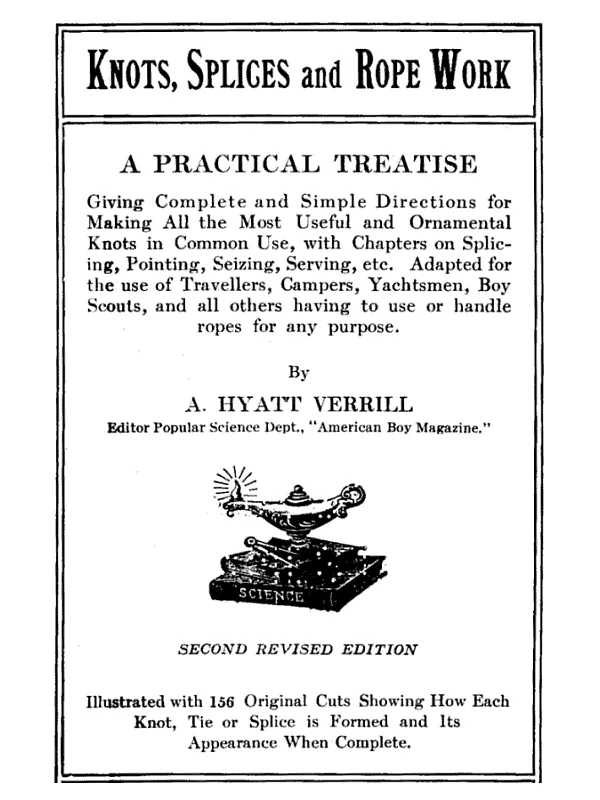
Starvard University · Knots
Master the working knots from A. Hyatt Verrill's Knots, Splices and Rope Work: stoppers, bends, hitches, the bowline family, whipping, splicing, and lashings. Ten knots you can tie by feel are worth a hundred you half remember.


Hello, my name is Finn, and I'm going to help you understand this course.
Here it is, explained like you are 10:
A knot is a clever way of making rope grab itself, so it holds tight when you pull and lets go when you want it to. In this course you learn the small set of knots sailors have trusted for hundreds of years: knots that stop a rope slipping through a hole, knots that join two ropes, knots that tie a rope to a post or a tree, and the famous bowline loop that never slips or jams. By the end you can tie ten of them without looking.
Most people know one knot, the granny, and it is a bad one: it slips, it jams, and it lets go at the worst moment. Real ropework is a tiny vocabulary used well. A bend joins two ropes. A hitch fastens a rope to something solid. A loop gives you a handle or a ring that will not close up on what it holds. Learn which job you are doing and the right knot almost chooses itself.
This course follows A. Hyatt Verrill's Knots, Splices and Rope Work, written when ships, farms, and camps ran on rope. You will whip rope ends so they do not fray, splice two ropes into one smooth join, and lash poles into things that stand up. Practice each knot ten times slowly, then ten times without looking. That is how hands learn. Keep a short practice rope by your chair: your fingers will do the studying while you talk or listen in the evening.
The whole course in brief
Eight lessons, ten knots your hands will know by feel.
The eight lessons
Lesson 1
Every knot in Verrill begins with three words. The standing part is the main, longest part of the rope, the part that takes the load. The bight is the part curved or bent while you are working, any loop or U turn in the rope. The end, often called the working end, is the part you move to form the knot. When someone says pass the end through the bight, you now know exactly what moves where.
Know your rope, too. Traditional rope is three strands twisted together, each strand made of yarns, and the twist is called the lay. Modern braided rope has no lay to follow, but it ties the same knots. All knots start, Verrill says, from a simple loop that sailors called a cuckold's neck: cross the end over or under the standing part and you have the seed of almost everything in this course.
Two habits protect every later lesson. Whip or tape a cut end before you practise, so it cannot unravel in your hands, and learn to dress a knot: pull it into its neat, final shape and work out the slack before you load it. An undressed knot can lose half its strength or capsize into a different, weaker knot.
Lesson 2
A stopper knot fattens the end of a rope so it cannot run through a ring, a block, or a hole. The overhand knot is the simplest knot of all: form a cuckold's neck, pass the end over the standing part and through the loop, and pull tight. Verrill notes it is used constantly inside other work, to finish yarns and strands in whipping, seizing, and splicing. On its own it has one flaw: loaded hard, it jams and can be nearly impossible to untie.
The figure eight fixes that flaw. Cross the end over the standing part, pass it behind the standing part, then bring it down through the first loop, so the finished knot draws up in the shape of an 8. It is only a step beyond the overhand, Verrill says, but it stays bulky, holds its shape, and shakes loose far more kindly after a load.
Practise both until you can tie each in either hand. Then learn the family test: if a stopper must later come undone, choose the figure eight. If the knot is permanent and tiny, like the end of a sewing thread or a strand inside a splice, the overhand earns its place.
Lesson 3
A bend joins two ropes end to end. Start with the square or reef knot, which Verrill calls probably the most useful and widely used common knot, strong, non slipping, and easy to untie when tied right. The formula is left over, then right over: pass the left end over and under the right, then the new right end over and under the left. Both ends should exit side by side on the same side. If they do not, you have tied the despised granny, which slips and jams and should never be trusted with a load.
Respect the reef knot's limit: Verrill warns it is not reliable on ropes of unequal size, where it can slip and pull apart. For different diameters, or for line that must join smoothly, use these instead:
Lesson 4
A hitch fastens a rope to a solid object: a post, ring, spar, or tree. The fastest is two half hitches. Take the end round the post, then make two turns around the standing part, each passing over and under in the same direction. Verrill promises this will hold without loosening and will stand an enormous strain even on a smooth, round spar, yet it unties in seconds.
The clove hitch, which Verrill also calls the builder's hitch, is the classic for staging poles and for starting lashings. Pass the end round the post, cross it over itself, round the post again, and tuck the end under the last turn and between rope and post. It grips smooth timber well, but can work loose under a swinging load, so back it up with a half hitch when the load matters.
For dragging a log or a spar, the timber hitch beats both. Pass the end round the timber, round the standing part, then twist it three or more times around its own part. The harder you haul, the harder it bites. Add one half hitch a couple of feet along the log, as Verrill shows, and the log will tow straight.
Lesson 5
The bowline, pronounced bowlin, is the sailor's knot par excellence in Verrill: a fixed loop in the end of a rope that never slips, never jams, and is easily untied after any load. Use it when a loop must not close up: around a mooring post, in a rescue line, or as a handle that stays open.
Tie it this way:
Size the big loop before you tighten: that is the loop you keep. The family grows from here. A running bowline is a bowline tied around its own standing part, making a noose that slides. A bowline on a bight, tied in doubled rope, gives two loops and was used, Verrill notes, to sling casks and to form a seat for lowering or hoisting a person. Always back up a bowline holding a person or a heavy load with a stopper knot in the tail.
Lesson 6
Whipping stops a cut end unlaying. Verrill's method needs only twine: lay the twine along the rope an inch or two from the end, wind several tight turns around both rope and twine end, then form a large loop with the free end of the twine, keep winding three or four turns around rope and loop, and finish by pulling the free end so the loop draws shut under the turns. Trim the ends flush.
A splice joins rope by weaving strands, not by tying a lump. The short splice is the simplest. Unlay both ends a few inches and stop them with a temporary seizing so they cannot unlay further. Marry the ends together, strand against strand, like interlaced fingers.
With a marline spike or a pointed stick, lift one strand of the first rope and tuck a strand of the second under it, working against the lay: over one strand, under the next. Tuck every strand once, then repeat for two or three more rounds each way, tapering by cutting away about half the yarns before the last round so the splice feathers into the rope. Roll it under your foot, trim the ends, and the join is smooth and strong.
Lesson 7
A lashing binds poles or timbers together with rope turns, no nails and no holes. Verrill's necklace tie and close band show the core idea: pass the line around and around both pieces, then secure the band itself so the turns cannot slacken. Camp lashings add one refinement, frapping turns that wrap around the lashing, between the poles, and pull everything drum tight.
For a square lashing, joining poles at a right angle for a tripod top, a garden frame, or a camp table, work like this:
For poles that cross at an angle, like shear legs or a fence brace, use a diagonal lashing: begin with a timber hitch across both poles, wrap the crossing diagonals, frap, and finish the same way. Wet rope shrinks tighter as it dries in the sun; dry synthetic rope does not, so haul every turn tight as you go.
Lesson 8
Skill is what your hands know when your eyes are busy elsewhere: on a dark dock, under a tarp in rain, or up a ladder. This final lesson is a test and a training plan in one. Lay out two practice ropes of different colours, about 6 feet each, plus a post or chair leg and a ring or carabiner to hitch to.
Your ten, in course order, are: overhand, figure eight, reef knot, sheet bend, fisherman's knot, two half hitches, clove hitch, timber hitch, bowline, and a whipped end finished neatly by feel. Tie each one slowly with your eyes open and say its name and job aloud. Then tie it three times with your eyes closed. If it comes out wrong, open your eyes, find the exact move that failed, and repeat only that move five times.
Finish with a timed round: all ten, correctly dressed, in any order you choose. Check each knot the sailor's way, by pulling it hard and then trying to untie it. A knot that holds under load and still unties willingly has passed. Keep a short practice rope by your desk or in your pack afterwards: two minutes a day keeps all ten alive.
Sources
This course is taught from classic texts that are free for anyone to read. Every method in the lessons traces back to one of these books.
Graduation
You came in tying one knot and hoping. You leave with a working vocabulary: stoppers that hold, bends that join, hitches that grip, a bowline you can tie in the dark, plus the whipping, splicing, and lashing that turn loose rope into useful gear. Keep a practice length where you will trip over it daily, and use real knots for real jobs from now on. Rope rewards the people who bother to learn it.
Keep learning
This course is part of Starvard University, striving for greatness.
A note on accuracy: Much of what you read at Starvard was created with help from AI agents, working alongside people. We check what we can, but we cannot guarantee that everything here is true, current, or complete. If something really matters, your health, your money, a grade, a job, please verify it with a trusted source before you rely on it.